
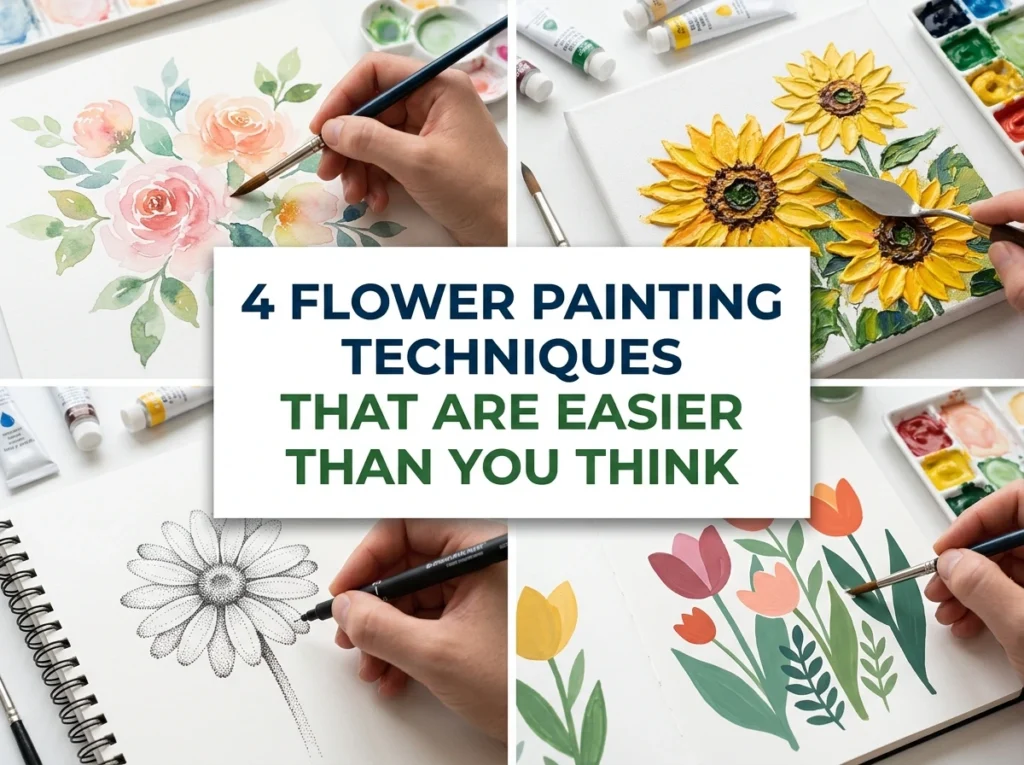
Flower painting is a fun and calm way to enjoy art. You do not need to be a great painter to make pretty flowers. You do not need costly tools, and you do not need any art class. With a few easy tricks and simple things from your home, you can paint bright flowers that look lovely.
In this post, you will learn 4 easy flower painting techniques that are easier than you think. Each way is simple, step by step, and made for new painters. Kids can try them, and grown-ups can enjoy them too. Pick one way, take your paint, and start. Your first flower does not have to be perfect. It only has to be yours.
What You Need Before You Start
Good news: you need very few things. Most of them are cheap, and some are already in your home. Here is a simple list:
- Thick paper, a small canvas, or an old notebook page
- Acrylic paint or poster paint in a few bright colors — red, pink, yellow, white, and green are a good start
- A small sponge, like a kitchen sponge cut into small pieces
- Cotton swabs (cotton buds) for dot flowers
- One or two soft brushes — one thick and one thin
- A cup of clean water to wash your brush
- A plate or a piece of card to mix your paint on
- An old cloth or tissue to clean extra paint
Put an old sheet or newspaper under your paper. Paint can fall and make marks, so this keeps your table clean. Also keep your paint a little thick. Very watery paint runs too much and makes weak colors. Thick paint gives bright, strong flowers. Now let us start with the first and easiest way.
1. Sponge Painting Flowers
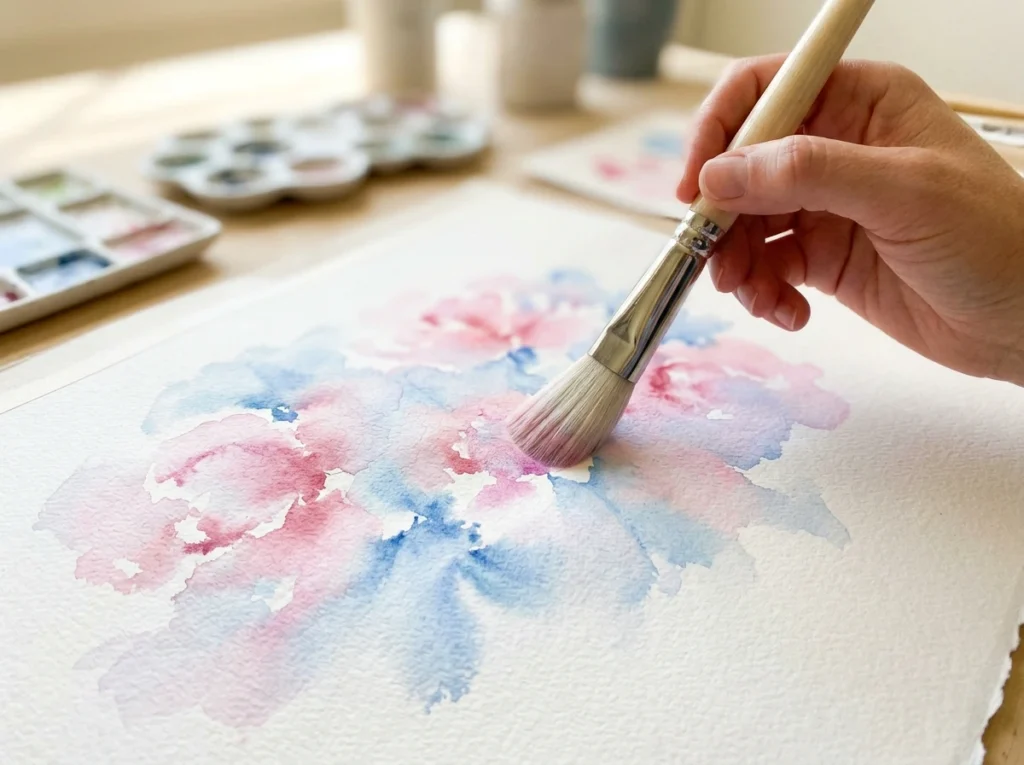
Sponge painting is one of the easiest ways to paint flowers. There is no need to draw fine lines. The soft sponge does most of the work for you, and each press makes a soft, round flower shape. This way is great for big flower art, gift cards, and wall art.
Easy Steps
- Take a small piece of sponge and dip it in your paint. Pink, red, or purple looks nice.
- Press the sponge softly on the paper. Lift it up slowly. You will see a round, soft flower shape.
- Press again and again to make more flowers. Leave small gaps between them.
- Dip a clean corner of the sponge in a second color and press it in the middle of each flower. This makes the flower look full.
- Take a thin brush, dip it in green paint, and draw simple lines for stems.
- Add small green leaves on the stems. Let the paint dry fully.
Simple Tips for Better Sponge Flowers
Do not press too hard, or the flower will look like a flat circle with no soft edge. A soft press gives a real flower feel. If the color looks light, wait for it to dry and press one more time on top. Two light layers look better than one heavy layer. You can also mix two colors on the sponge at one time, like pink and white. The flower will have a soft, pretty blend with no extra work.
2. Cotton Swab Dot Flowers
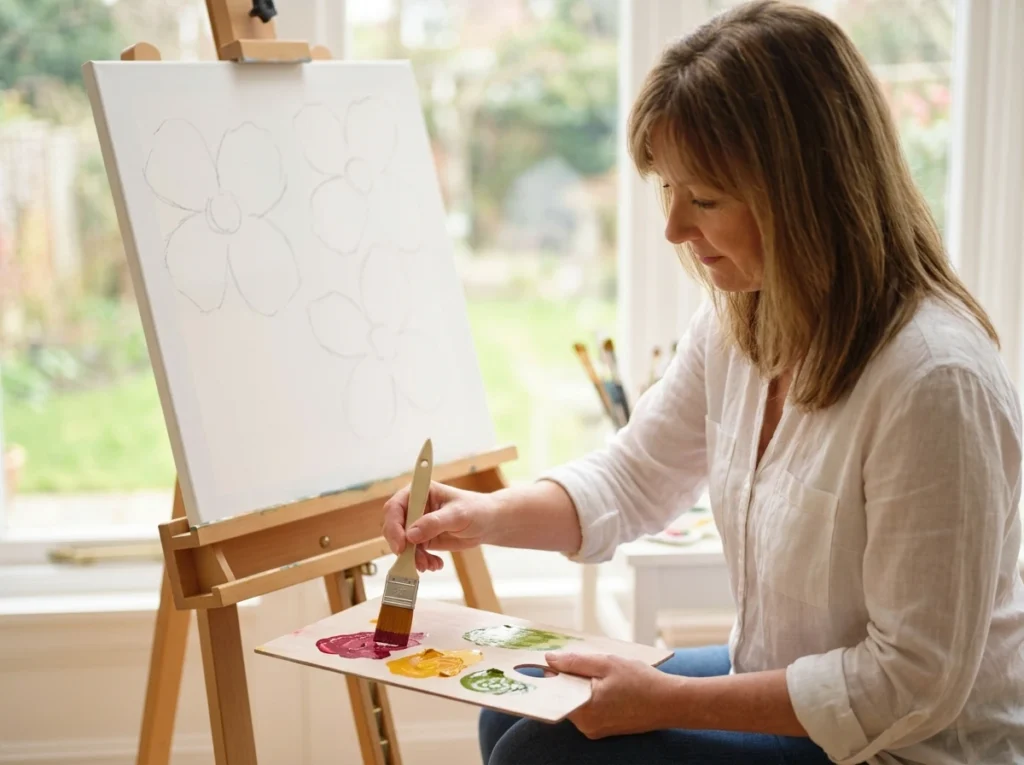
Cotton swab flowers are sweet, small, and very easy. You only make dots. That is all. If you can press a dot, you can paint this flower. This way is easy for kids and grown-ups too, and it makes bright flower art with very little work.
Easy Steps
- Dip the tip of a cotton swab in paint. Yellow, pink, or white is a good start.
- Press small dots in a round shape, like a small circle of dots. Five or six dots make one flower top.
- Dip a clean swab in yellow or orange paint and press one dot in the middle.
- Make many flowers in this way. Big circles and small circles look good together.
- Use a thin brush with green paint to add stems and small leaves.
- Let the art dry, then frame it or give it as a small gift.
Simple Tips for Better Dot Flowers
Keep your dots close to each other so the flower looks full. If the dots are too far apart, the flower looks empty. Use a new swab when the tip gets too soft or dirty, because a clean tip makes clean, round dots. You can join five or six swabs with a rubber band and dip them all at once. One press then makes a whole flower top. This is a fun trick when you want to make many flowers fast.
3. One-Stroke Flower Painting
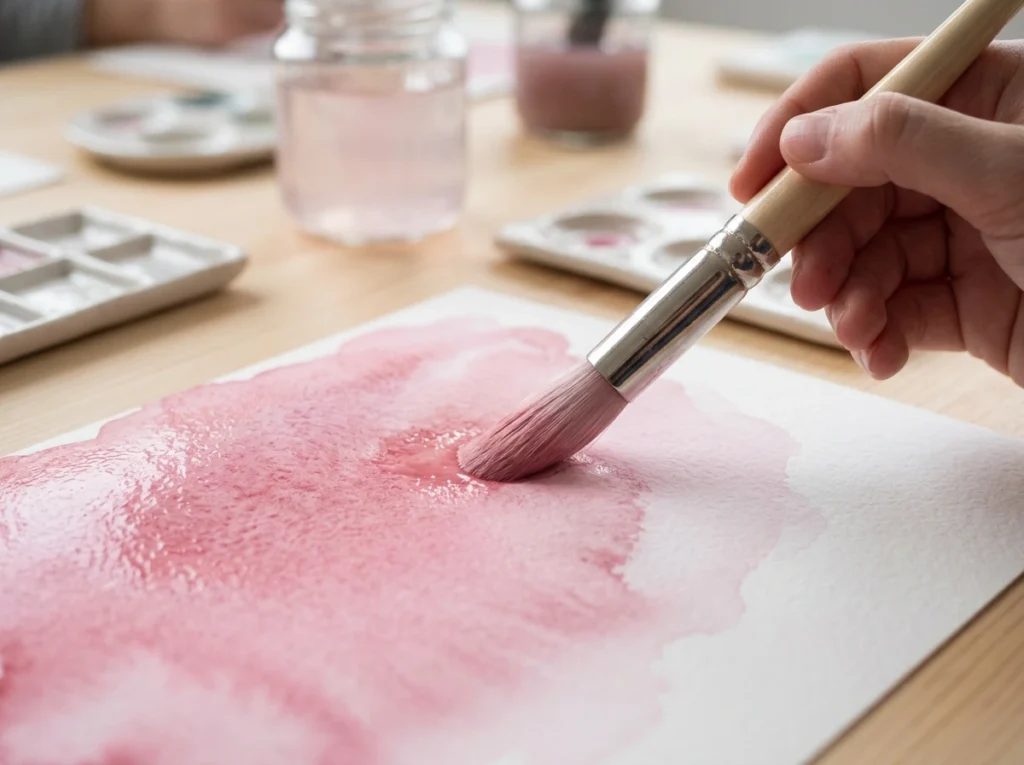
One-stroke painting looks hard, but it is easy when you go slow. In this way, you put two colors on one brush at the same time. As you move the brush, the two colors mix into a soft blend, and one move makes one full petal. This trick gives flowers a soft and bright look, and the finished flowers look classy and neat.
Easy Steps
- Take a flat brush. Dip one corner in white paint and the other corner in pink or red paint.
- Press the brush on a plate and move it two or three times so both colors sit well on the brush.
- Now press the brush on your paper and lift it in one soft move. You will see one petal with two colors.
- Make five or six petals in a round shape to make one flower.
- Dip the brush again in paint after every two or three petals, so the colors stay bright.
- Add a small dot in the middle, then paint green stems and leaves.
Simple Tips for One-Stroke Flowers
This way takes a little practice, so first try on old paper. Do ten practice petals, and you will see your hand learn the move fast. Keep your hand soft and slow. Fast moves break the petal shape. If a petal goes wrong, do not rub it. Let it dry, then paint a leaf or a new petal on top to hide it. Small mistakes are a normal part of painting, and even good painters make them.
4. Fingerprint Flower Painting
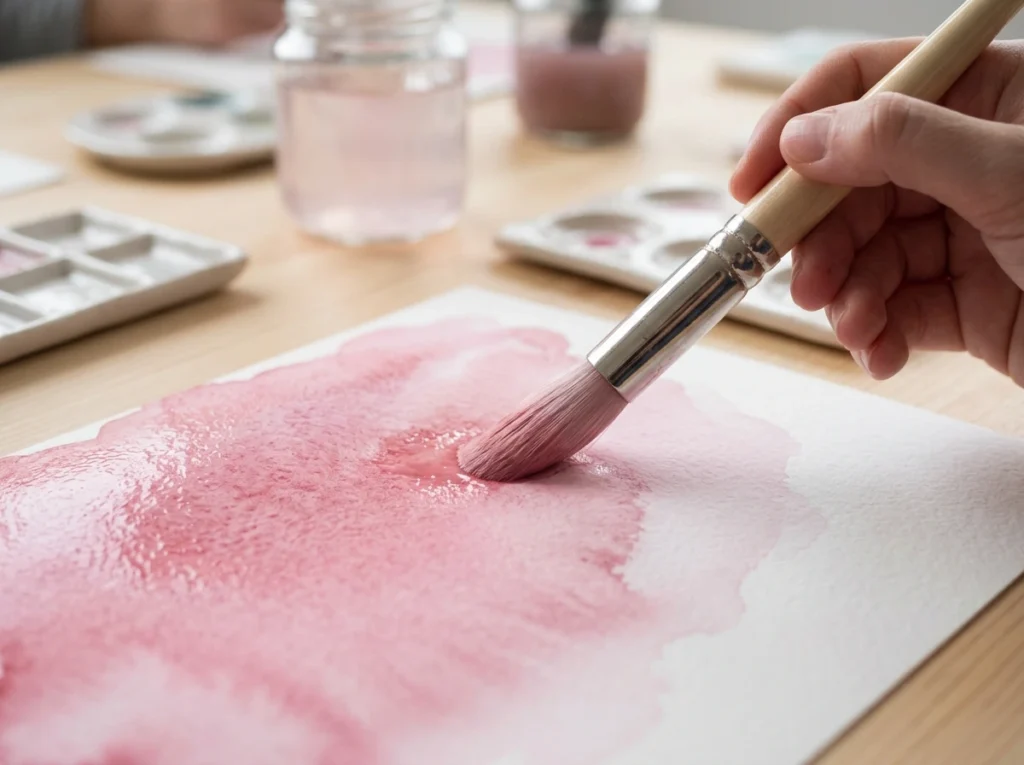
Finger painting is the most fun way of all. Your finger is your brush. This easy trick is great for new painters and for family craft time with kids. The flowers look cute and soft, and no two flowers ever look the same.
Easy Steps
- Put a little paint on a plate. Dip the tip of your finger in the paint.
- Press your finger on the paper. One press makes one petal.
- Press five or six petals in a round shape to make one flower.
- Wash your finger, dip it in a new color, and make more flowers.
- Add a dot in the middle of each flower with a clean finger or a small brush.
- Paint green stems and leaves with a thin brush, or draw them with a green pen after the paint dries.
Simple Tips for Fingerprint Flowers
Use only a thin layer of paint on your finger. Too much paint makes a big wet blob, and the petal shape is lost. A thin layer shows the soft lines of your finger, and that makes the petal look real. Keep a wet cloth near you so you can clean your finger fast between colors. You can make a full flower garden scene this way — many flowers, green grass at the bottom, and a yellow sun in one corner. Kids love this art, and it looks great on a card.
Easy Tips That Help Every Flower Painting
These small tips work for all 4 ways in this post:
- Start with light colors. You can always add dark color on top, but you cannot take it away.
- Let one layer dry before you add the next. Wet paint on wet paint makes mud colors.
- Use an odd number of flowers. Three or five flowers on a page look better than two or four. It is a small art secret that always works.
- Leave some white space. A page full to the edge looks busy. Empty space makes your flowers stand out.
- Look at real flowers. Look at a flower in your garden or in a photo before you paint. See how the petals sit and how the leaves grow. Your painting will get better every time.
- Do not compare your art with others. Your first painting is for joy and practice. Every painter starts with simple work.
Common Mistakes and Easy Fixes
Mistake 1: The paint is too watery. The flowers look pale and run down the page. Fix: add more paint and less water. Thick paint gives strong color.
Mistake 2: The colors turn muddy and brown. This happens when you mix too many colors while the paint is still wet. Fix: let each color dry first, and clean your brush or sponge between colors.
Mistake 3: The flowers all look the same size. The art looks flat. Fix: make some flowers big and some small. Big flowers look near, and small flowers look far. This gives your art life.
Mistake 4: You press too hard. This happens with the sponge and with fingers. Fix: use a soft, light touch. You can always press one more time if the color is light.
Simple Ideas to Try Next
Once you learn these 4 easy ways, you can use them in many fun projects. Paint flowers on a gift card for a friend. Make a flower poster for your room. Paint a notebook cover, a photo frame, or a plain cloth bag. You can also paint flowers on stones from the garden — they make sweet gifts. Try one new project every week. Small practice, done often, is the best way to learn art.
Questions People Ask About Flower Painting
Which paint is best for these flower painting techniques? Acrylic paint is the best pick for most people. It is thick, bright, cheap, and dries fast. Poster paint also works well, and it is a good pick for kids because it washes off hands with water.
I cannot draw at all. Can I still paint flowers? Yes, of course. These 4 ways need no drawing skill at all. A sponge, a cotton swab, one brush, and your finger do the shapes for you. Start with sponge flowers — they are the easiest of all.
What paper should I use? Use thick paper so the paint does not tear it. Drawing paper, card paper, or a small canvas board all work well. Thin notebook paper can bend and tear when it gets wet.
How long does one flower painting take? A small flower art takes only 10 to 20 minutes. The paint needs some more time to dry fully. You do not need a full day — a short, happy art break is enough.
Final Words
Flower painting is not about being perfect. It is about soft colors, happy practice, and a calm mind. You now know 4 flower painting techniques that are easier than you think — sponge flowers, cotton swab dot flowers, one-stroke flowers, and fingerprint flowers. Pick the one you like most, take your paint, and make your first flower today. With a little practice, your flowers will get better and better, and your art will make you smile every time you see it.
More Ideas You’ll Love
- 21 Best Black Jeans Outfits That Are Stylish All Year Round
- 11 Ash Blonde Hair Colors That Are Perfectly Cool
- 22 Choppy Bob Hairstyles That Are Chic, Modern, and Full of Texture
Stay Updated
Subscribe with your email and get notified whenever we publish new posts.