

Spring is here at last. Let us make pretty spring crafts. We love to reuse old things. Old things can look very cute. They do not cost much money. Tin cans are great for crafts. They are strong and easy to use. You may have some at home. Let us turn cans into pretty centerpieces. They will look full of spring. This is good for Earth. It is good for your home too.
1. Boho Chic Painted & Twine Wrap
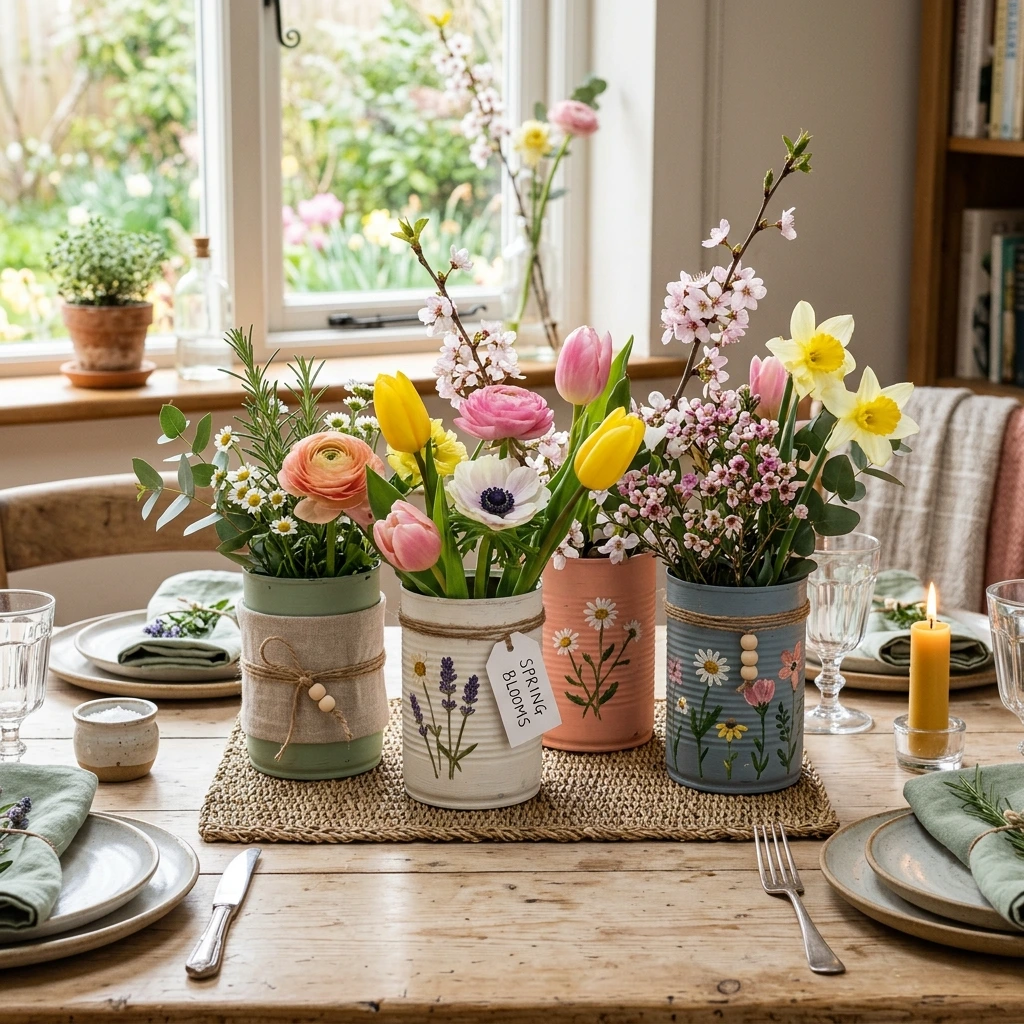
This craft uses soft, natural textures. It has a calm, artsy feel. First, pick a clean empty can. Any size can will work well. Soup cans and veggie cans are fine. Big coffee cans work too. Wash the can very well. Take off all the labels. Next, get some flat acrylic paint. Pick soft earth colors you like. Creamy beige is a good pick. Dusty rose is a good pick. Soft sage green is a good pick. These colors give a boho feel. Paint the whole can fully. Use two or three thin coats. Let each coat dry fully first. Then add the next coat. When the paint is dry, get some twine. Jute string works well too. Wrap it around the top of the can. Or wrap it around the bottom. Use hot glue to hold the ends. Make the wrap thick or thin. It will look nice next to smooth paint.
To make it prettier, add dried flowers. Try small bits of dried eucalyptus. Try soft bunny tail grass. Try a few dried lavender stems. Tuck them into the twine. These bits add a natural feel. They give a cozy, rustic charm. This charm is key to boho style. You can also paint a simple shape. Wait till the base coat is dry. Try tiny white dots. Try thin gold lines. Use a thin brush for this. Hand-drawn lines look very sweet. This style does not need to be perfect. Paint and raw twine look great together. It looks great on an old wood table. It looks great with woven mats. It looks great with linen napkins.
For a matching set, make three cans. Use cans of different heights. Paint them in colors that go well. Try beige, blush, and light terracotta. Put them on a plain wood tray. Add some small pebbles around them. You can add small pinecones too. Picture them on your coffee table. Picture them on a shelf. They add warmth to any room. They add charm without looking fussy. Making them is calm and fun. You turn trash into treasure. It shows your own style.
This style is great for handmade lovers. Each brush mark adds its own charm. Each wrap of twine adds charm too. You can try different kinds of string. Thick wool yarn feels cozy and warm. Thin shiny thread adds a soft glow. Use what you have at home. Let your ideas guide you. It is a fun sunny-day project. It makes your home look fresh. It is mindful, happy crafting.
Do not be afraid to mix things up. Paint one can all over. Wrap one can fully in twine. Give one can both paint and twine. This mix keeps it fun to look at. It will not look dull or plain. The set will look sweet and artsy. It is perfect for a calm spring home.
2. Decoupage with Spring Floral Napkins
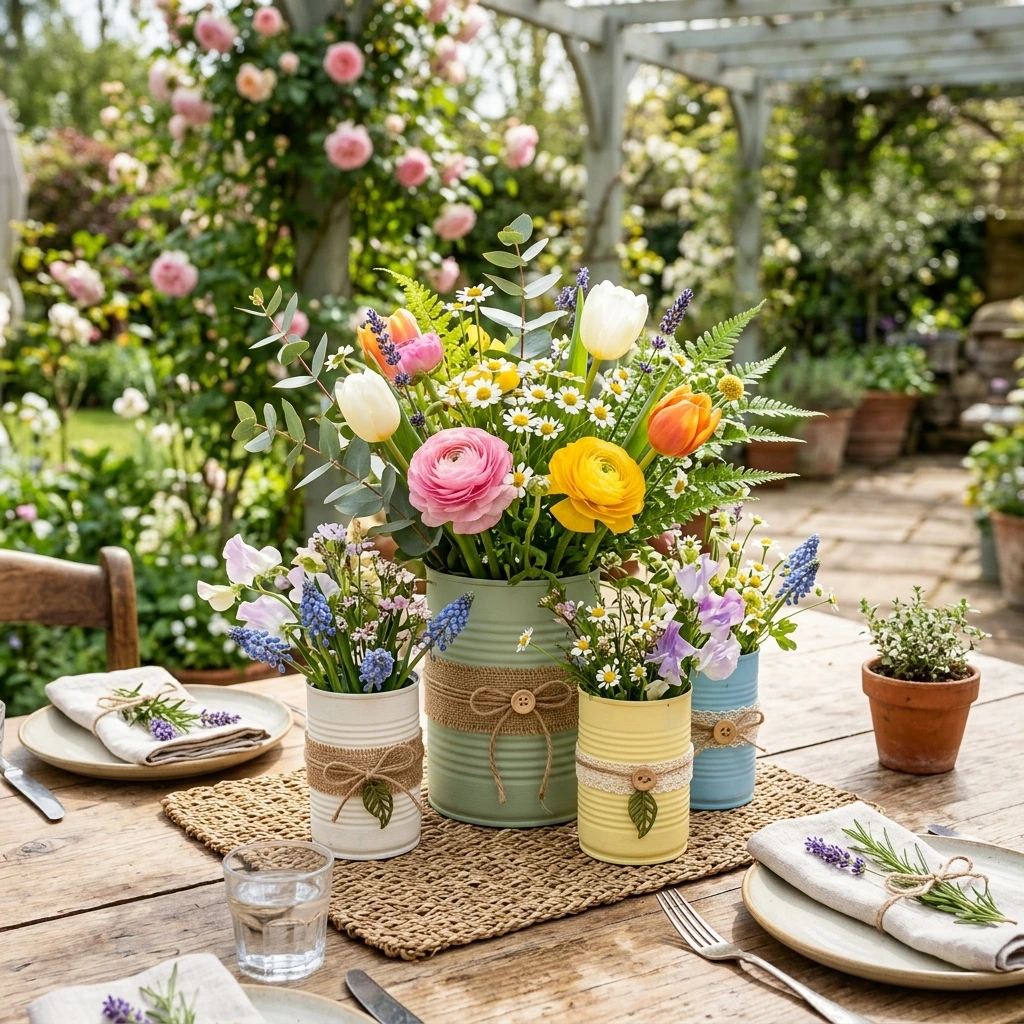
This craft is lots of fun. It makes cans look fancy and pretty. They look like shop-bought decor. First, gather clean empty cans. Bigger cans work best for this. They give more room for the design. The stars are pretty paper napkins. Pick napkins with spring flowers on them. Daffodils and tulips are lovely picks. Cherry blossoms are lovely too. Butterflies and hummingbirds are cute too. You also need decoupage glue. Mod Podge is a good brand. Get a soft paintbrush too. Get sharp scissors too.
First, pull the napkin layers apart. Most napkins have two or three layers. Use only the top printed layer. Cut out the flower shapes you like. Do not use the whole napkin at once. Small pieces are easier to place. They give a smooth finish. Put a thin layer of glue on the can. Place one napkin piece on the glue. Smooth it from the middle outward. Use your fingers or a soft brush. Push out air bubbles as you go. Push out wrinkles as you go.
Keep adding glue and napkin pieces. Let pieces overlap a little bit. Or leave small gaps between them. Pick the look you like best. When all pieces are placed, add more glue. Brush a thin layer over the whole can. This seals the design in place. It makes the finish strong and smooth. Let it dry fully now. It may take a few hours. The design will look painted on. You will love how neat it looks.
For a final touch, tie a ribbon on it. Tie it around the neck of the can. Wait till the can is fully dry. Pick a spring color you like. These cans hold small flower bunches well. Try crocuses or snowdrops in them. Try small flowering branches too. If you add water and fresh flowers, line the can first. Use a small glass jar inside. Or use a small plastic bag. This keeps the design safe from water. Good glue also keeps water out.
Picture these cans on your dining table. Each one can have a different napkin design. Together they make a sweet spring display. They also make great pencil holders. Use them on your craft desk. They hold makeup brushes nicely too. There are so many ways to use them. These pretty handmade cans fit any home.
This craft lets you make it your own. Pick napkins that match your home colors. Or mix bright, fun patterns together. It turns plain cans into something special. It turns them into something one of a kind. It is also very earth-friendly. The smooth finish looks painted on. It adds a fancy touch. No one will guess it was a can.
3. Ombre Dip-Dyed Effect
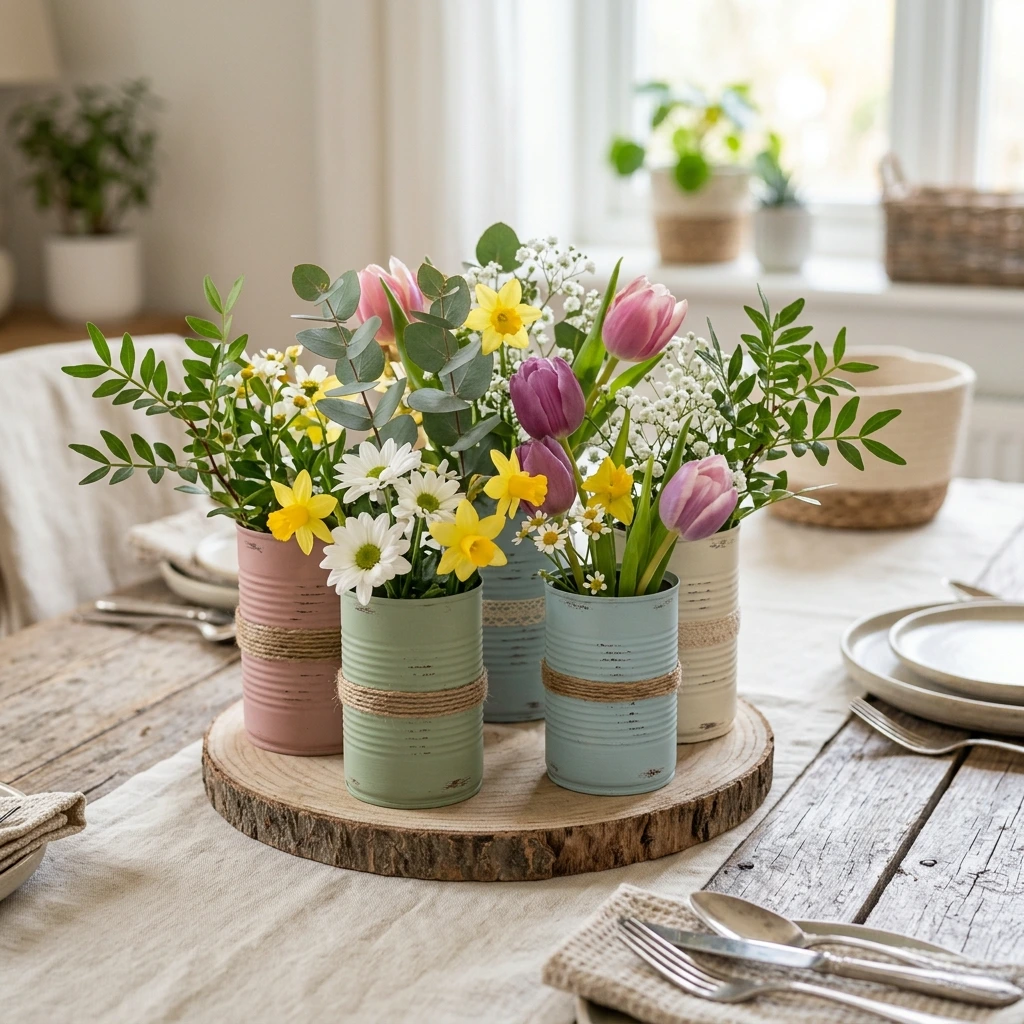
This craft needs a bit more patience. But the result looks truly stunning. It is simpler than it looks. Your cans will look artsy and neat. Start with very clean cans. Tall, thin cans show the fade best. But any size will work fine. Get acrylic paints in one color family. Try light blue, medium blue, dark blue. Or use a light color with white. Add a little water too. Get a big tub or bucket. It must fit the whole can inside. Get a stick for mixing. Get some paper towels too.
First, pick your color plan. Try soft pink fading to deep rose. Try mint green fading to bright emerald. Mix your lightest paint with water. Use the big tub for mixing. Make it thin like watercolor paint. But not so thin it slides off. Test it on scrap paper first. Dip the whole can in the light paint. Coat it all over evenly. Pull it out and let drips fall. Set it down to dry almost fully.
When the first coat is mostly dry, mix again. Add a bit more paint to the tub. Make it a little less watery. Dip the can a second time. This time dip only two-thirds of it. Start from the bottom of the can. This makes the first fade layer. Pull it out and let it dry. Do this step again and again. Each time add darker paint. Each time dip a little less. The color will fade from dark to light. It fades as you move up the can.
The trick is to let layers dry. Let each layer dry before the next dip. Change the paint color just a little. Change the thickness just a little. You build the fade bit by bit. The top will be the lightest color. The bottom will be the darkest color. You can flip it if you like. Put dark at the top instead. Fade it to light at the bottom.
These faded cans look very modern. They look neat and stylish too. Picture three of them on a plain shelf. Each one can hold a small succulent. Each one can hold a single flower stem. The smooth color fade looks classy. It makes your decor look better fast. They hold kitchen tools well too. They add a fun pop of color.
To keep your cans safe, seal them. Use a clear matte spray sealant. Use it when all paint is dry. Satin sealant works well too. It makes the cans last longer. It stops small scratches and marks. The dipped look seems very pricey. But it costs very little money. It is a great cheap spring craft.
This craft lets you play with color. Try bright, bold fades that catch the eye. Try soft fades that feel calm. They can bring peace to your room. The smooth finish looks fancy. These cans fit many home styles. They fit modern homes well. They fit soft farmhouse homes too.
4. Chalk Paint distressed with Stenciled Details
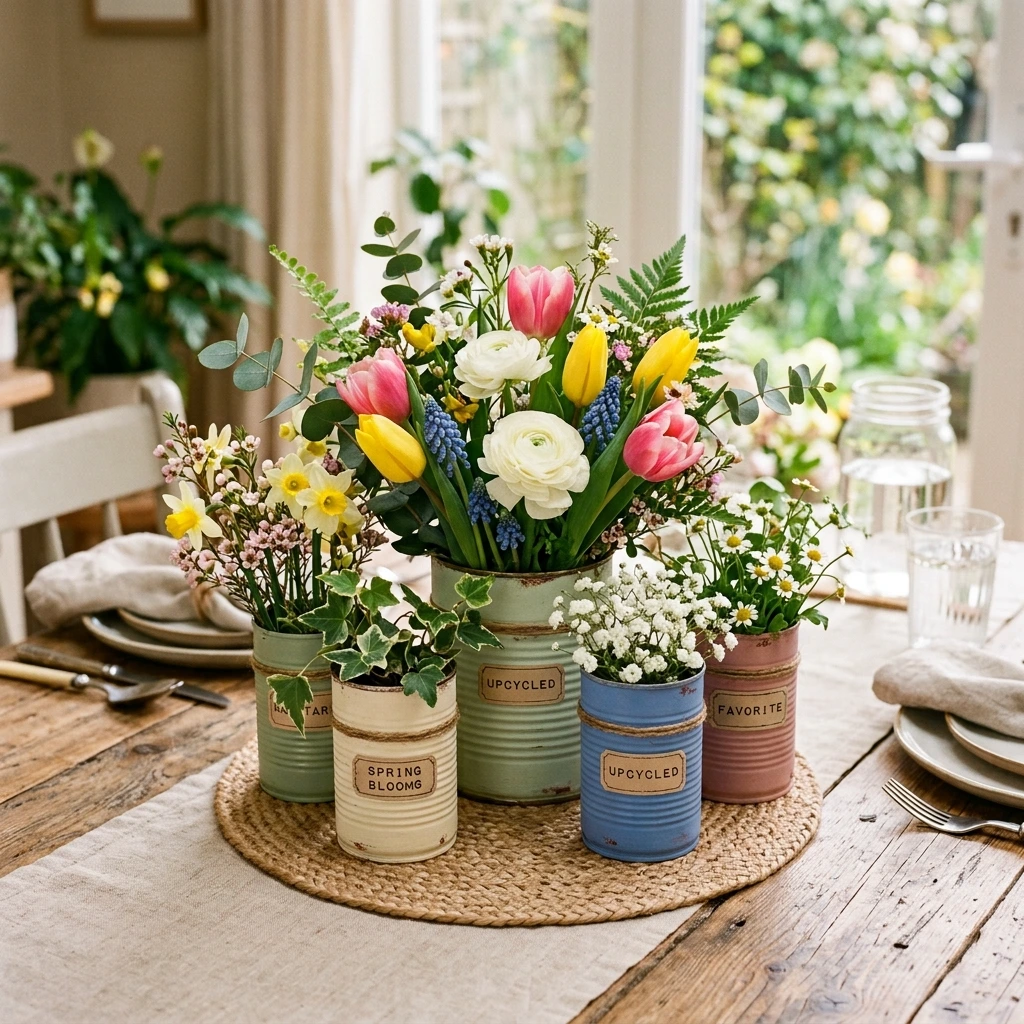
This look is sweet and full of charm. It suits rustic and farmhouse homes. It suits shabby chic homes too. Start with clean tin cans. Old cans with dents are just fine. Small flaws add to the worn charm. Do not worry about smooth cans. Get chalk paint in a soft spring color. Pale blue is a nice pick. Soft green is a nice pick. Pastel yellow is a nice pick. Get a brush and fine sandpaper. Get a small stencil too. Pick a leaf design or a letter. A bird or bee is cute too. Get a second paint color for the stencil. White or cream works well. A darker shade works well too.
First, paint two coats on the can. Chalk paint sticks well to most things. It needs little prep work. Its flat finish is great for this look. Let each coat dry fully. Chalk paint dries quite fast. When fully dry, take your sandpaper. Sand the edges very gently. Sand the rim and the base. Sand spots that would wear in real life. This shows the silver can below. It gives a nice aged look. Start with light sanding. You can always sand more later. But you cannot add paint back.
Now add the stencil design. Place the stencil on the can with care. Put it in the middle of the can. Or place it a bit off-center. Use a small stencil brush or sponge. Dab a little paint through the holes. Use very little paint at a time. Dab straight up and down. This stops paint from leaking under. When done, lift the stencil straight up. Your neat design will show. You can leave it just like that. Or sand it very lightly when dry. This softens the edges a bit. It makes the design blend in more.
To finish, seal the chalk paint. Use clear wax or matte sealant. Do this if cans will get lots of use. It guards the paint from harm. It makes the color a touch deeper. It gives a soft, pretty glow. These cans hold fresh herbs well. Put them on your kitchen sill. They hold wildflowers from your garden. They store craft bits nicely too.
Picture these cans on a wood tray. Add sprigs of baby’s breath. Add some simple green leaves. The old-time handmade feel adds charm. It makes a room feel cozy. It makes a room feel warm and kind. This craft loves small flaws. It turns plain things into loved treasures.
You can try many stencil designs. Pick ones that match your home. Spell a spring word with letter stencils. Try ‘bloom’ or ‘grow’ across cans. Chalk paint is easy to use. It forgives small mistakes well. It is great for first-time crafters. These cans add charm to kitchens. They add charm to living rooms. Kids love them in playrooms too.
5. Geometric Painted with Metallic Accents
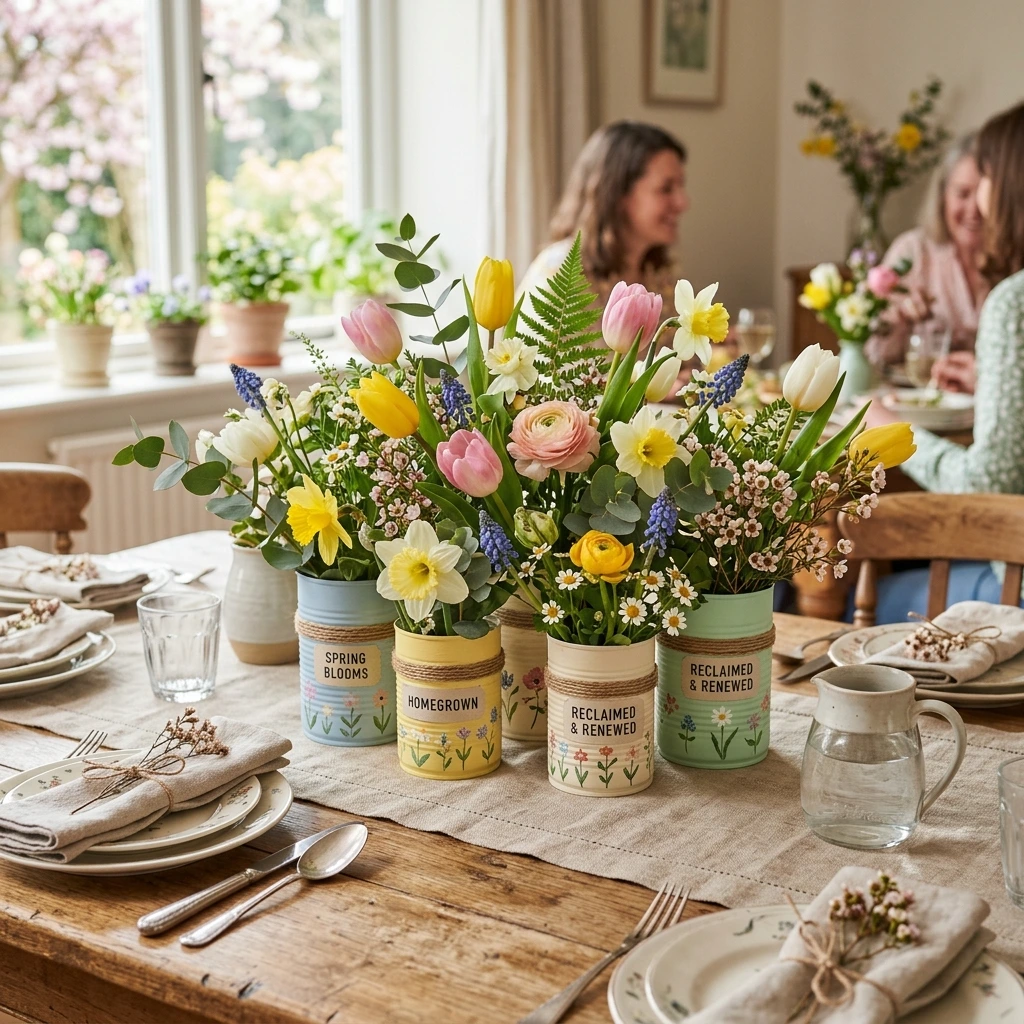
This look is smooth and modern. It is neat and very stylish. It adds a fresh feel to spring decor. Use clean tin cans for this. Smooth cans give the sharpest lines. Get artist’s tape or painter’s tape. It should not be too sticky. Get acrylic paints in a few colors. Pick colors that pop together. Crisp white is a good base. Coral or teal adds spring cheer. Get metallic paint too. Gold, silver, or copper all work. A thin brush helps with neat lines. A paint pen works well too.
Start by painting the whole can. Use white or a soft pastel base. Let the base coat dry fully. Then plan your shape design. Now the tape comes into play. Use tape to make straight lines. Make triangles or squares with tape. Try chevron or herringbone patterns too. Press the tape down hard. Make sure it sticks very well. This stops paint from leaking under.
Now paint the open sections. Use your bright acrylic colors. Fill some parts with one color. Fill other parts with new colors. Or use one color for shapes. Use one color for the background. For shiny accents, use metallic paint. Paint thin lines with a fine brush. Or use a paint pen instead. Paint along some tape edges. Fill small shapes with metallic paint. This adds a bit of glam. It makes the design stand out. When paint feels dry, peel the tape. Peel it off very slowly. Your crisp shapes will show. Take your time with this step. Do not pull up the paint.
You may need a second coat. Add it where paint looks thin. Let coats dry in between. Re-tape if you need to. When all paint is dry, remove tape. You will have a bold modern can. Picture a set in an art studio. They can hold colorful paintbrushes. Picture them at a spring brunch. They make striking utensil holders.
These bold cans look great on desks. They look great on modern counters. They make a bold table centerpiece. Fill them with neat, simple plants. Succulents and air plants work well. Long-stemmed flowers work well too. They match the clean lines. The shiny bits catch the light. They add a classy little sparkle.
For a bolder look, start with black. Paint bright shapes on the black base. Try pink, bright blue, lime green. Outline some shapes with gold lines. This makes a bold modern piece. Try tape of different widths too. Thick and thin lines add fun. Neat work is key for this look. Take your time and enjoy it. You will make something truly one of a kind.
This modern craft makes cans look chic. They will fit a trendy home well. The shiny accents are simple to add. They make the cans look pricey. They lift the whole design up. It is great for clean-line lovers. It is great for bold-statement lovers. It adds a fresh, modern flair.
Final Thoughts
There you have it. Five fun ways to reuse tin cans. Turn them into pretty spring centerpieces. Each way has its own style. Pick the one you like best. Pick the one that suits your home. Reusing old things helps the Earth. It adds charm to your space too. It adds your own handmade touch. And it costs very little. So grab those cans now. Let your inner artist shine. Let your home bloom this spring.
Stay Updated
Subscribe with your email and get notified whenever we publish new posts.