

Christmas is such a fun and happy time. Everything shines and looks so pretty. It feels warm and cozy all around. Making decorations with kids is the best. Kids love to make things with their hands. Handmade things become special keepsakes. These crafts are fun and very easy. They make sweet memories for your family. Let us try some fun craft ideas. Your tree will look full of joy.
1. Salt Dough Ornaments
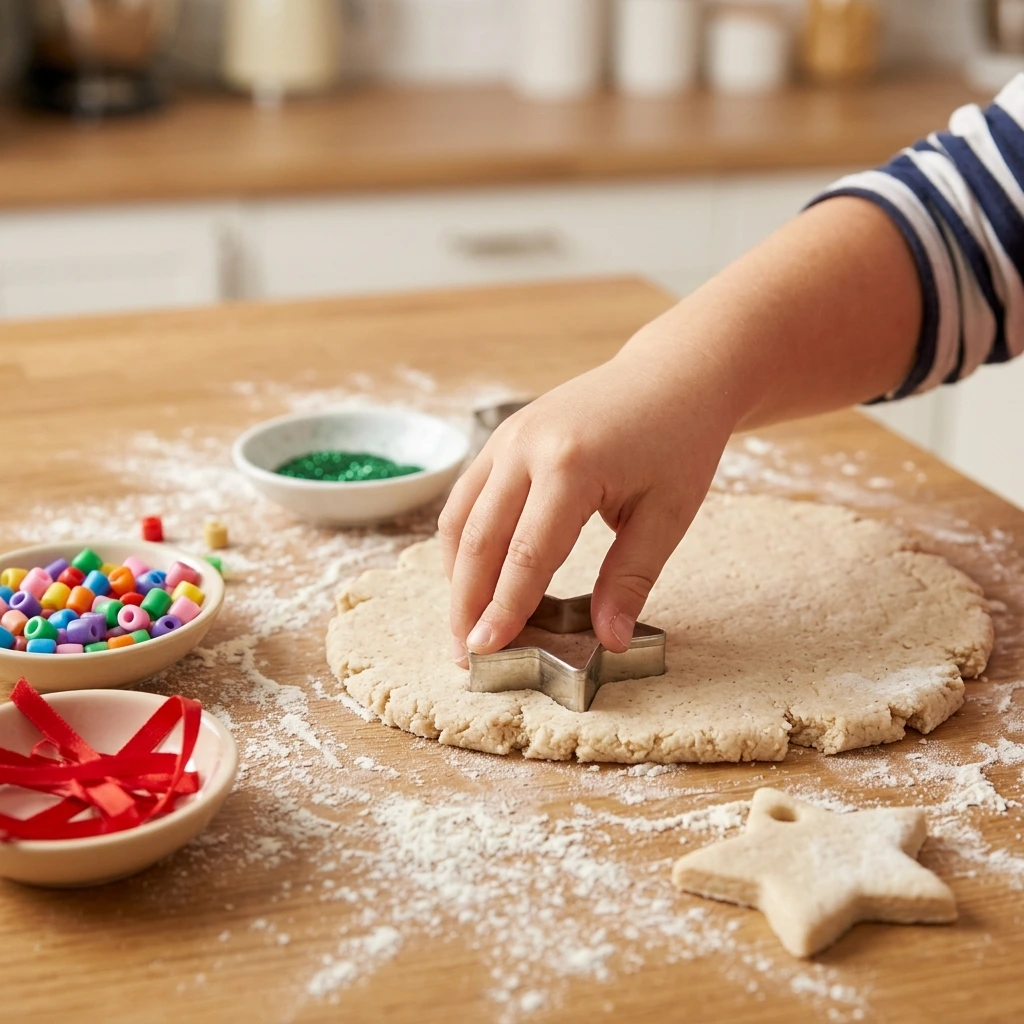
Salt dough ornaments are old and loved crafts. They are easy to make at home. You have the things in your kitchen. They turn out cute and sweet. Think of tiny handprints on your tree. They shine with glitter and look special. Kids love to press hands in dough. Mixing and decorating feels fun to touch. These ornaments get hard when baked. They last for many, many years. You can enjoy them every Christmas. They make the tree feel full of love.
To make salt dough, get a few things. You need four cups of flour. You need one cup of salt. You need one and a half cups of warm water. That is all you need for the dough. Get cookie cutters in fun shapes. Try stars, trees, or gingerbread men. A rolling pin makes the dough flat. Parchment paper helps with easy cleanup. Get a straw to poke a hole. The hole is for the hanging ribbon. For decorating, get paints in holiday colors. Red, green, white, and silver are fun. Glitter gives extra Christmas shine. You may want clear craft sealer too. It keeps your art safe and pretty. Get ribbons or twine for hanging. Set out all things before you start. This makes crafting smooth and fun.
Making the dough is easy and fun. Put flour and salt in a big bowl. Mix them well with a spoon. Slowly add the warm water. Mix with your hands until dough forms. If it is dry, add more water. If it is sticky, add more flour. Make it feel like soft playdough. Put the dough on a floured table. Roll it flat with the rolling pin. Make it about as thick as a finger. Not too thin and not too thick. Now cut out fun shapes with cutters. Press your child’s hand in the dough. It makes a sweet handprint keepsake.
Put the cut shapes on a baking sheet. Line the sheet with parchment paper first. Poke a hole near the top of each. Use a straw or a skewer. This hole holds the ribbon later. Make the hole a little big. It gets smaller as it bakes. Heat the oven to 250 degrees. Bake for two to three hours. Bake until they are hard and dry. Thicker ones take more time. Watch them while they bake. Let them cool on a wire rack. They should feel hard and light. Do not rush the cooling time. They might crack if moved too soon.
Now comes the fun decorating part. Set out paints, brushes, and glitter. Let kids paint with bright holiday colors. They can paint plain colors or stripes. They can add dots or tiny pictures. Outline handprints with a new color. It makes the handprint stand out. Sprinkle glitter while the paint is wet. It gives a pretty Christmas shine. Fine glitter makes a soft shimmer. Chunky glitter makes a bold look. When all is dry, add sealer. A thin coat of clear sealer works well. It keeps the paint and glitter safe. It also gives a nice shiny look. This step is not a must. But it helps them last longer.
Now add the ribbon for hanging. Cut ribbon or twine six inches long. Shiny yarn works well too. Push the ribbon through the hole. Tie the ends in a knot. This makes a loop for hanging. Now your ornaments are all done. Hang them on the Christmas tree. They will shine among the lights. Each one shows your family’s joy. They make sweet gifts for grandparents. Give them to aunts, uncles, or friends. They show how much you care. Each year you will unbox them. They will bring back happy memories.
2. Pinecone Critters and Sparkle Pinecones
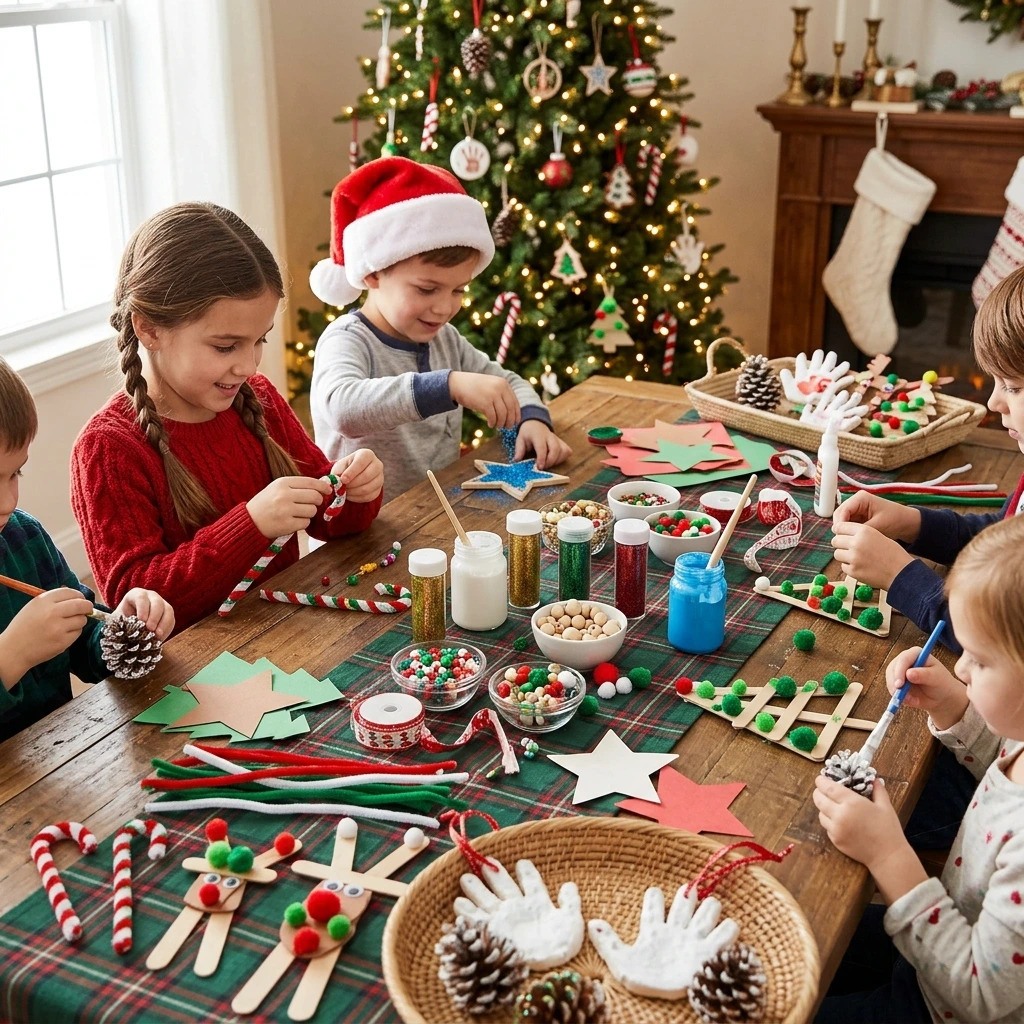
Pinecones make great Christmas crafts. They are free if trees are near. Turn them into cute little animals. Or cover them with shiny glitter. Kids love this fun craft a lot. It helps them play with nature. They can use their big imaginations. The ornaments look sweet and natural. They look nice on the Christmas tree. Finding pinecones is fun too. It feels like a little adventure.
First collect lots of pinecones. Look for big and small ones. Small ones make cute little animals. Big ones look nice as decor. Make sure they are clean and dry. Bake them at low heat first. This kills tiny bugs inside. It also opens up the scales. Get craft glue and cotton balls. Get googly eyes in many sizes. Get small pom-poms for noses. Get buttons for little hats. Get pipe cleaners for antlers. Get felt scraps for ears. For shiny ones, get glue and glitter. Gold, silver, red, and green look great. Get ribbon or twine for hanging. Get scissors and old newspaper too. Keep your work space nice and tidy.
Let us make cute pinecone animals. Pick an animal you like best. A reindeer, an owl, or an elf. You can make any animal you want. For a reindeer, add four legs. Glue small twigs under the pinecone. Glue a red pom-pom for the nose. This end becomes the head. Stick two googly eyes above the nose. Twist brown pipe cleaners into antlers. Glue them on top of the head. Cut small ears from felt scraps. Glue the ears on too. Add a tiny bell for fun. For an owl, use cotton for wings. Glue big googly eyes on the front. Add small hats or scarves too. Each animal gets its own fun look.
Shiny pinecones are easy to make. Kids love the sparkly glitter part. Brush glue on the scale tips. Cover the edges well with glue. That is where light will shine. While the glue is wet, add glitter. Sprinkle glitter all over the pinecone. Work over a tray or newspaper. It catches the extra glitter. Pour the extra back in the jar. Use one color for a fancy look. Or mix colors for a fun look. Red and green look very festive. Gold and silver look pretty too.
Tap off the extra glitter gently. Set them on parchment paper to dry. They may need a few hours. Some may need a whole night. Make sure they are fully dry. Do not touch them too much. This keeps the glitter in place. To make them last longer, spray sealer. Use a light mist from far away. Hairspray works well for this too. It locks the glitter in place. A little spray is all you need.
Now add a loop for hanging. Cut ribbon or twine six inches long. Yarn works well for this too. Make a loop and tie the ends. Find a strong scale near the top. Glue the knot to the scale. Ask a grown-up to help with hot glue. Make sure the loop is tight. It should not fall off the tree. No glue? Tuck the knot between scales. Or tie it around the top scales.
Kids will love to hang them up. Each one is special and unique. They show your child’s fun ideas. They add a sweet natural touch. They remind you of craft time together. They fit well with Christmas decor. They show the joy of making things. You may make them every year. It can be a fun family tradition.
3. Handprint Santa/Reindeer Ornaments
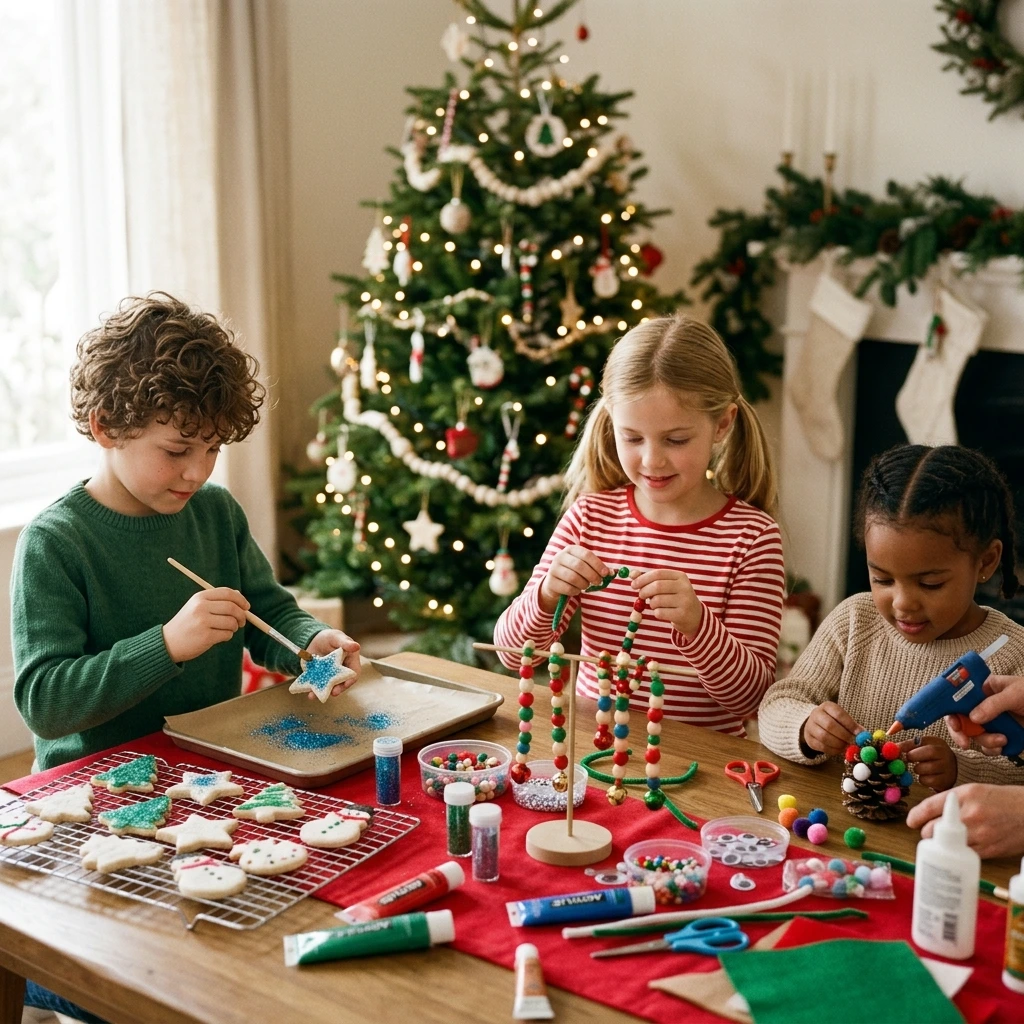
Handprint ornaments are very special. They save a moment in time. They show how tiny hands once were. Turn them into Santa or reindeer. Kids love this fun Christmas twist. Their hand becomes a fun character. It feels a little like magic. These are not just decorations. They are sweet keepsakes for family. Grandparents will love them a lot. They bring smiles every holiday. Look back years from now. Remember how small the hands were.
Get some basic craft things first. Use white or light cardstock paper. Thick paper works well for the base. Get red, brown, and white paints. You need paintbrushes and a black marker. Get googly eyes in many sizes. Small red pom-poms make cute noses. They work for Rudolf or Santa hats. Cotton balls make fluffy white beards. They make soft hat trims too. Get glue for sticking things on. Scissors cut out the handprints. A hole punch makes the ribbon hole. Get ribbons or twine for hanging. Set all things out first. This helps when little hands are busy.
Let us start by making the handprints. Lay thick paper on a safe surface. For Santa, paint your child’s palm white. Press the hand gently on the paper. Make sure all fingers touch the paper. Lift the hand straight up slowly. This helps avoid smudges and smears. Make one print for each ornament. Let the white paint dry all the way. For a reindeer, use brown paint instead. Paint the hand brown and press it down. Lift it up with care again. Make a few extra handprints too. One might not turn out just right. Extra prints give you more fun choices.
Once the prints are dry, make fun characters. Let us make Santa first of all. When the white print is dry, paint red. Paint a red triangle over the thumb. Leave the bottom of the palm white. This white part is Santa’s face. Add white paint for the hat brim. Or use cotton balls for the brim. Add a small cotton ball for the tip. Paint a pink circle for his face. Once the face is dry, add eyes. Glue two small googly eyes on. Draw a smile with a black marker. Add rosy cheeks and a red nose. The four fingers become Santa’s beard. For a reindeer, turn the print over. Point the fingers down like antlers. The palm now becomes the reindeer head.
Now add cute details to bring them to life. For Santa, wait for paint to dry. Glue a small red pom-pom for his nose. Put it in the middle of his face. Make the beard extra fluffy and fun. Glue small cotton balls on the fingers. They will look soft and real. For the reindeer, find the brown head. The palm of the print is the head. Glue on two googly eyes. Below the eyes, add a red pom-pom. This is Rudolf’s famous red nose. Cut two small ears from felt. Or use brown paper for the ears. Glue them on top of the head. Place them between the antler fingers. These small touches make them unique. Each one looks cute and fun.
When paint and glue are dry, cut them out. Cut around the shape of each handprint. Leave a small border if you like. Or cut close for a clean look. Cut with care to make them neat. Punch a small hole at the top. For Santa, punch the hat tip. For the reindeer, punch the head top. This hole is for the ribbon. Cut ribbon or twine six inches long. Push the ribbon through the hole. Tie the ends into a loop. Now they are ready to hang.
Now you have sweet handprint ornaments. Each one shows your child’s fun ideas. They are not just decorations. They are sweet keepsakes from childhood. They show how small the hands were. Hang them on the tree each year. It will be a happy moment. They make sweet gifts for family too. Loved ones will feel touched by them. They show love and hard work. This craft is more than art. It is about making memories together.
4. Craft Stick Star Ornaments
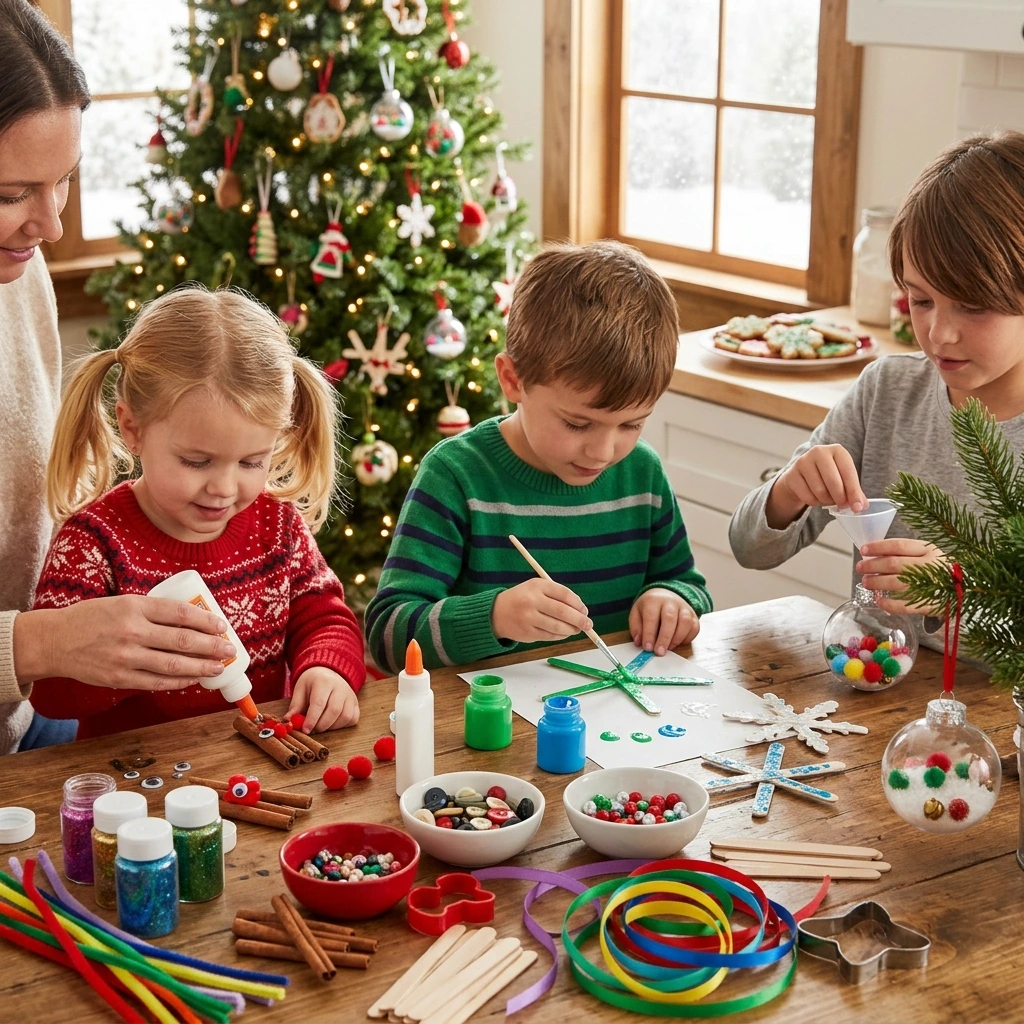
Craft sticks are great for fun crafts. They are cheap and easy to find. They are also called popsicle sticks. Turn them into bright shiny stars. This craft lets kids be very creative. Stars are a fun Christmas symbol. They stand for the Christmas star. Making them by hand adds meaning. They make the tree look special. This craft helps little hands grow strong. Kids can try new decorating ideas. The end looks like a fun constellation.
Get your craft things ready first. You need a good stack of craft sticks. Big sticks make big stars. Get strong craft glue that dries clear. A low heat glue gun works too. Ask a grown-up to help with it. Get paints in bright Christmas colors. Gold, silver, red, green, and blue. Glitter is a must for shiny stars. Get small rhinestones and sequins too. Tiny pom-poms and buttons are fun. Get paintbrushes and a paint dish. Cover the table with old newspaper. Get festive ribbon for hanging stars.
Let us make star shapes from sticks. The easy way uses two V shapes. First lay out five craft sticks. Take two sticks and make a V. Glue the ends where they meet. Let the glue dry for a bit. Take one more stick and glue it. Put it across the open V ends. This makes the shape of an A. Do it again with two more sticks. Now you have two A shapes. Glue the two A shapes together. They form a five-point star. Glue all the crossing points well. Or try a simpler star method. Make a pentagon shape in the middle. Glue stick ends to each corner. The ends stick out like star points. Let the glue dry all the way. This keeps your star strong and safe.
When the stars are dry, add color. Set up a fun painting station. Get bright and fun acrylic paints. Let kids paint the stars any color. Gold and silver stars look fancy. Red, green, and blue look fun too. Paint each stick a new color. Or paint the whole star one color. Kids can try mixing colors too. Cover all sides with paint. Make sure no wood shows through. Paint both sides for a nice look. Or paint one side if it hangs flat.
Now comes the best fun part. Add lots of shine to your stars. While the paint is still wet, add glitter. Sprinkle glitter all over the star. Mix glitter colors for a fun look. Or use one color for soft shine. Kids love glitter a whole lot. It makes simple stars look magic. If the paint is dry, add glue. Spread a thin layer of craft glue. Then sprinkle glitter on the glue. You can add more fun things. Glue on small rhinestones or sequins. Add tiny pom-poms or small buttons. These shine and catch the light. Let all the glue dry all the way. This may take a few hours.
Now get the stars ready to hang. Make sure they are fully dry. Cut ribbon or twine six inches long. You can use shiny thread too. Make a loop with the ribbon. Tie the ends in a tight knot. Glue the knot to a star point. Put the glue on the back side. It will not show when hanging. Make sure it is glued tight. The star should hang straight down. It should not fall off the tree. You can also tie the ribbon on. Wrap it around a top point.
Watch kids hang their stars with joy. Each star has its own fun colors. They add a sweet touch to the tree. They show the fun of making crafts. They remind us of the holiday magic. They help little hands grow strong. They let kids show their art. Both kids and parents will love them. These stars will become sweet keepsakes. You will love them year after year.
5. Paper Plate Wreath Ornaments

Paper plates are great for fun crafts. They are cheap and easy to find. You can use them in many ways. Turn them into small wreath ornaments. Even young kids can make them. The wreaths add a classic holiday look. Each child can decorate their own. You will get a fun set of ornaments. They are sweet and full of charm. Kids make something from simple things. This helps their art skills grow.
Get your craft things ready first. Use plain white paper plates. Get green paint for the wreath base. Both acrylic and washable paint work. Get some paintbrushes for painting too. Get red ribbon bits for decor. Get small pom-poms in fun colors. Red, white, and green are perfect. Get glitter, sequins, and small buttons. Get tissue paper for tiny shapes. Cut out berries or leaves. Get white school glue or Tacky Glue. Get scissors to cut the plate. A hole punch makes the ribbon hole. Get festive ribbon for the loop. Set out all things before you start. This makes crafting smooth and fun.
First make the plate into a wreath. A grown-up may need to help. Take a paper plate and draw a circle. Draw it in the middle, two inches wide. Leave a good border on the outside. This middle circle will be cut out. Cut along the inner circle with care. Also cut around the outer edge. Now you have a paper ring. This ring is your wreath base. You can make big or small wreaths. Change the size of the circle. This gives you fun variety.
Now paint your wreath bases green. Give each child a paper ring. Paint both sides of the ring. Cover all the paper with green. This gives a classic wreath look. Try two shades of green paint. Add white or gold while wet. It looks like frosty branches. Let the paint dry all the way. Wet paint makes glue not stick. While they dry, get things ready. Put pom-poms in small bowls. Set out glitter and ribbon bits. This gets you ready to decorate.
When the green paint is dry, decorate. This is where kids can shine. Set out lots of fun things. Glue red pom-poms for holly berries. Green or white ones add fun texture. Cut small leaves from paper. Glitter is a must for shine. Spread glue in fun patterns. Sprinkle glitter on the glue. Tap off the extra glitter gently. Glue on sequins and small buttons. They add shine and fun texture. Kids can be as creative as they want. There is no wrong way to decorate.
Now add a pretty wreath bow. Take red or plaid ribbon. Cut about six inches of ribbon. Tie it into a small bow shape. Glue the bow on the wreath. Put it at the top or bottom. The bow makes it look complete. Use strong craft glue for this. A grown-up can help with hot glue. Let the bow glue dry well. Make sure all things are stuck tight. Your wreaths will last for years. They will bring joy each holiday.
Now get the wreaths ready to hang. Make sure all parts are dry. Punch a small hole at the top. This hole holds the hanging loop. Cut ribbon or twine six inches long. Push one end through the hole. Tie the ends into a loop. Now your wreaths are all done. Hang them on the Christmas tree. They add a classic holiday cheer. Made by little hands, they are special.
Final Thoughts
Making ornaments with kids is the best. It is a sweet part of the holidays. It is not just about pretty decor. It is about laughs and fun moments. You build sweet memories together. Each ornament is special and unique. They tell a story of your family. Keep them safe for many years. So get your craft things ready. Play some fun holiday music. Enjoy making these treasures with kids. They will love them on the tree.
Stay Updated
Subscribe with your email and get notified whenever we publish new posts.